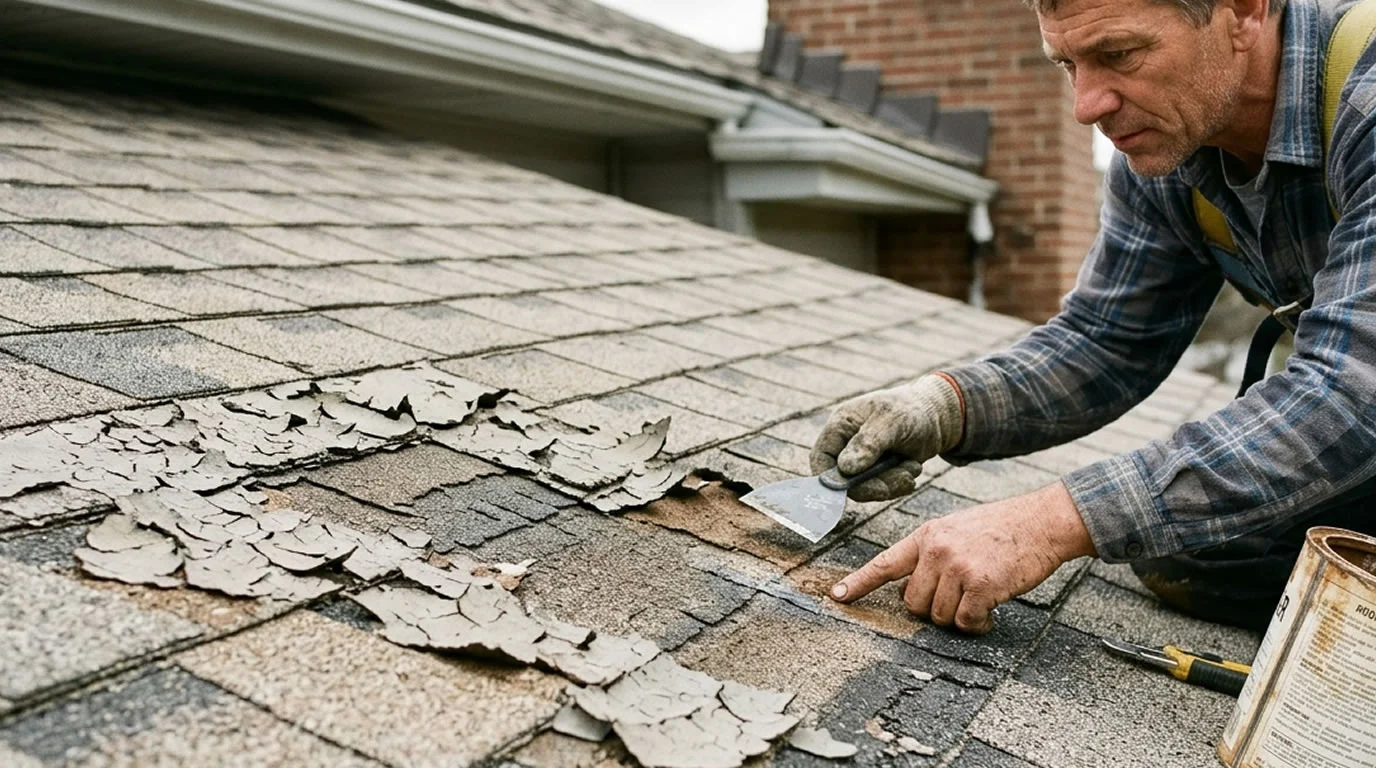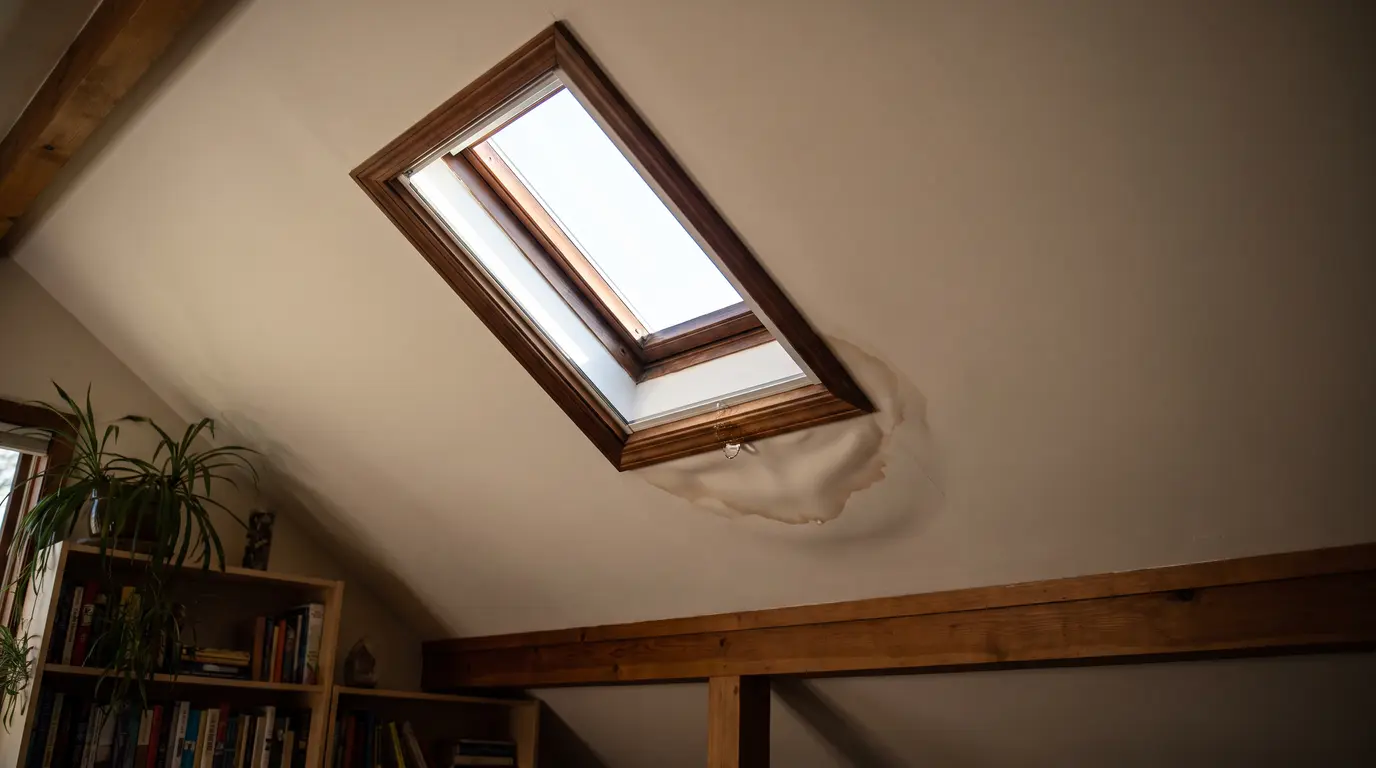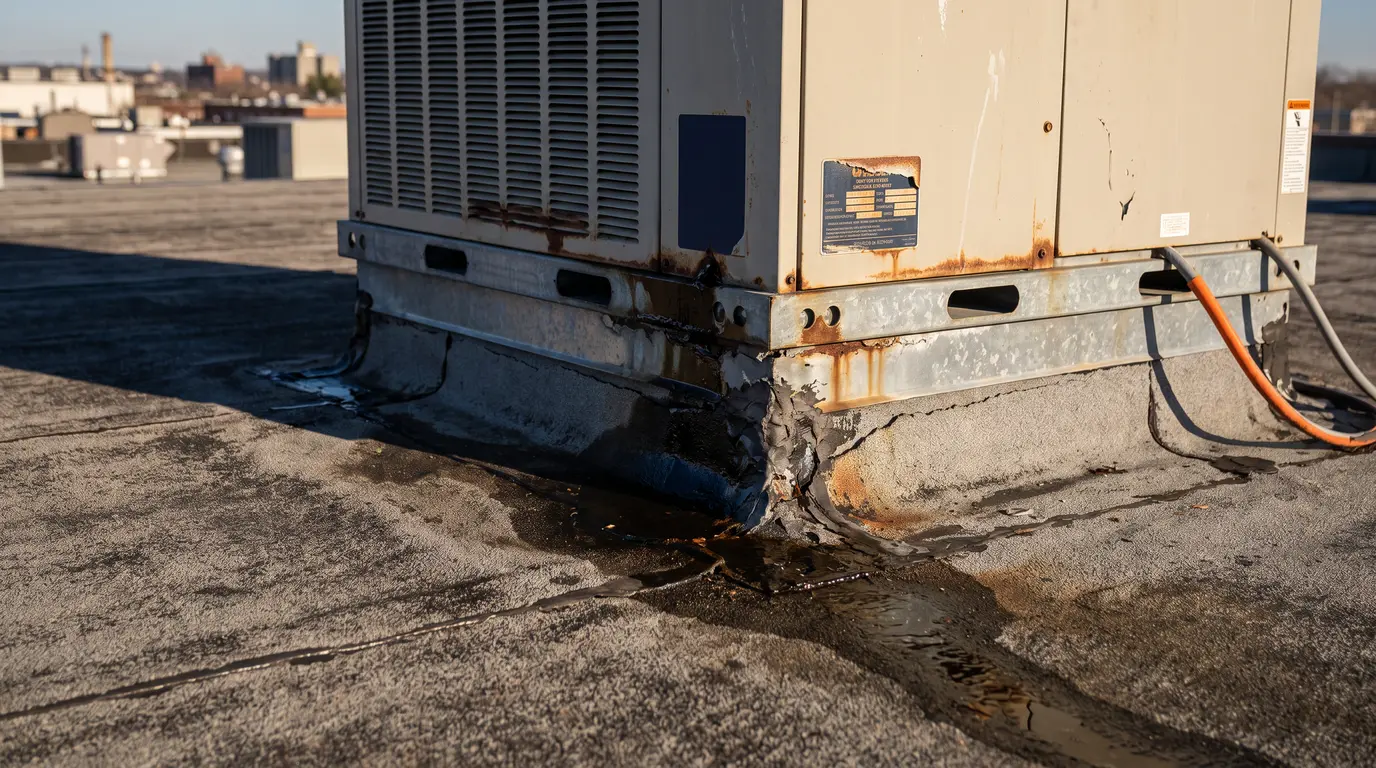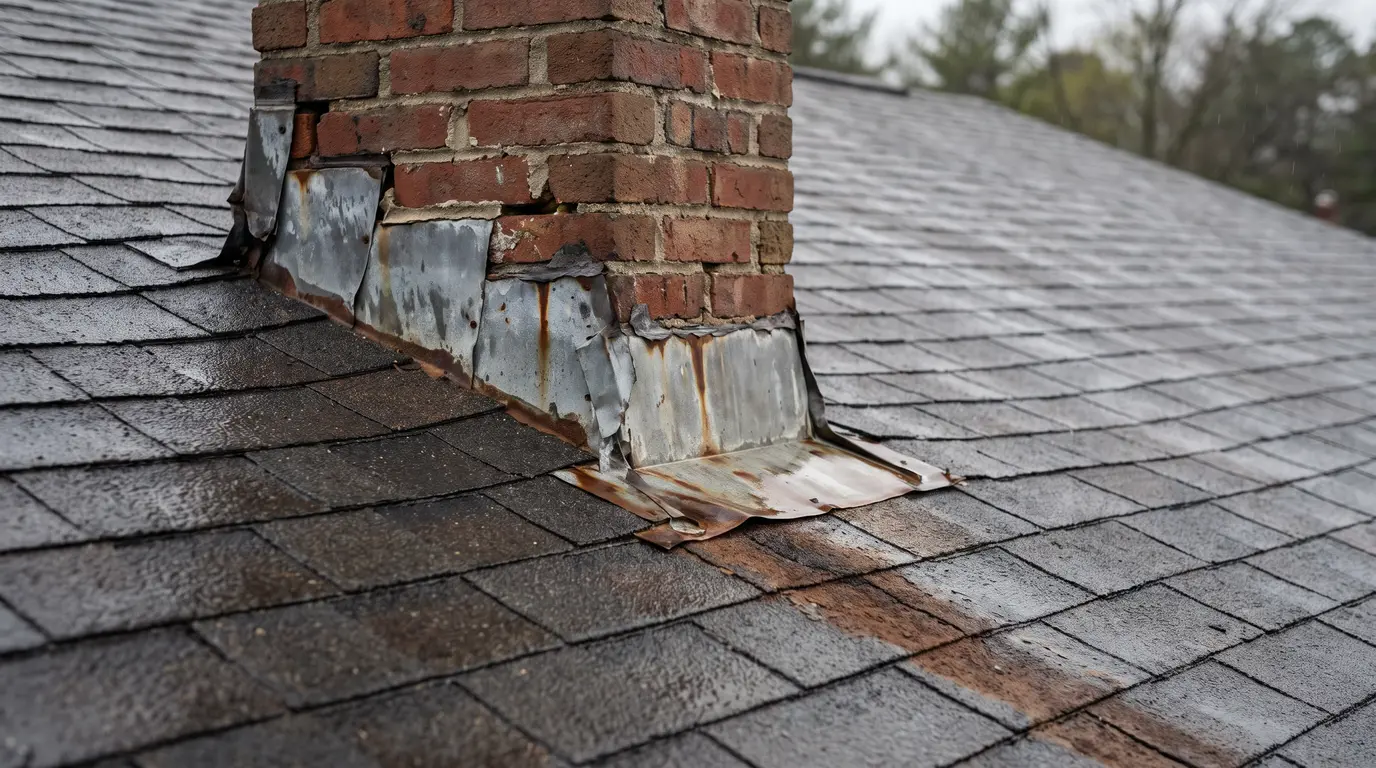
A roof leak around a chimney is most often caused by a problem where the chimney meets the roof, especially damaged, separated, corroded, or improperly installed flashing. The chimney itself may also be allowing water in through a damaged cap, cracked crown, open mortar joints, or deteriorated masonry. Finding the source early matters because water can travel through the roof assembly before it appears as a ceiling stain.
Start by protecting the inside of your home and making only safe observations from the ground or from accessible interior areas. A complete evaluation should consider both the roofing system and the chimney, rather than focusing only on the visible stain or the shingles closest to it.
Common Sources of a Chimney Area Roof Leak
The connection between a chimney and a roof uses several parts that work together to shed water. Typical components include apron flashing on the lower side of the chimney, step flashing along the sides, counterflashing that covers the upper edges of the flashing, and a cricket or backer area on the upper side when the roof design calls for one.
A leak can develop when any of these parts is missing, bent, corroded, poorly overlapped, separated from the masonry, or not properly integrated with the roof covering. A bead of sealant by itself is not the same as a properly integrated flashing system. The exact arrangement varies with the chimney construction, roof covering, roof shape, and applicable local requirements.
Water can also enter through the chimney. A missing or damaged rain cap, cracked crown, open mortar joints, or damaged brickwork may allow water into the chimney area or surrounding materials. A cap helps protect the flue opening, but it does not replace flashing where the chimney meets the roof. The Chimney Safety Institute of America guidance describes several of these water entry conditions.
| Possible source | What it does | Clues to look for | What should be evaluated |
|---|---|---|---|
| Roof to chimney flashing | Includes apron, step, counterflashing, and related transitions | Gaps, separation, corrosion, bent metal, poor overlaps, or failed joints | The full flashing assembly and its integration with shingles and masonry |
| Cricket or backer area | Diverts water around the upper side of the chimney | Damaged construction, debris accumulation, or water concentration behind the chimney | Drainage and flashing at the upper intersection |
| Chimney crown or cap | Helps shed water from the top and limit direct entry into the flue or masonry | Missing cap sections, cracks, deterioration, or water inside the chimney | The crown and cap, with a chimney professional involved when appropriate |
| Masonry and mortar | Forms the chimney enclosure | Cracked brickwork, open mortar joints, or visible water entry | Masonry condition and whether repairs are needed in addition to roof work |
| Nearby roof covering or concealed roof materials | May allow water to travel before appearing near the chimney | Problems in surrounding shingles, underlayment, roof deck, or transitions | The larger leak path rather than only the interior stain |
These are possible sources, not a homeowner diagnosis. One leak can involve more than one defective component, and water may travel away from the point where it entered.
When Does the Leak Appear?
Pay attention to whether the leak appears during ordinary rain, wind driven rain, or only after a longer storm. The timing can help a professional understand how water is reaching the area, although it does not identify the source by itself. For broader context on how rain can expose weaknesses in flashing, roof penetrations, drainage, or roof openings, see why your roof leaks in heavy rain.
Inside the home, note when the stain or drip begins and whether the area is growing, soft, bubbling, or showing mold like discoloration. A ceiling mark near the chimney does not necessarily sit directly below the entry point because water may move through the roof assembly before becoming visible.
What You Can Safely Check
Begin indoors. Move furniture and other contents away from an active drip and use a container or protective covering where needed. If water is near an electrical fixture, shut off power to the affected area only if you can do so safely. Do not handle wet electrical components.
- Look from the ground with binoculars or camera zoom for obvious damage to the chimney cap, crown, masonry, flashing, and nearby shingles.
- From an accessible interior area, look for damp insulation, staining, or other visible signs around the chimney and roof framing.
- Record when the leak appears and whether wind driven rain seems to affect it.
- Take photographs of the indoor stain and safe exterior observations to share with the professional who evaluates the leak.
Do not climb onto a wet, steep, or damaged roof to investigate. A ground level view and accessible interior observations can provide useful preliminary information, but they cannot replace a complete inspection. The guide on how to check your roof without climbing can help with safe preliminary observations.
What a Professional Should Inspect
Ask the roofing professional to identify the likely entry point and explain whether the repair involves shingles, underlayment, apron flashing, step flashing, counterflashing, a cricket, roof decking, or interior damage. The inspection should look beyond the visible ceiling stain and consider the surrounding roof materials.
The chimney should also be evaluated when the roof inspection does not clearly establish the source. A chimney professional or suitably qualified contractor may need to examine the cap, crown, masonry, mortar, and the connection between the chimney and the flashing. The inspection areas described in Level 2 Inspection of a Masonry Chimney include water damage below the flashing, the crown, flashing, and cricket when present.
You can also review what roof inspectors check for a broader explanation of flashing, chimneys, roof penetrations, drainage, and accessible attic areas. For an active leak, those same categories should be considered in the context of finding the entry path.
Questions to Ask Before Repair Work Begins
A useful inspection should leave you with more than a recommendation to add caulk or cover the stain. Ask, “Can you show me which flashing component is allowing water in, and what materials must be removed to repair it correctly?”
It is also reasonable to ask, “Is the chimney itself contributing to the leak, or is the water entering only at the roof intersection?” These questions help separate a roof repair from masonry or chimney work when more than one component may be involved.
Surface caulking or a repair limited to the visible stain may not solve the problem if the underlying flashing is corroded, incorrectly layered, or not integrated with the roof covering and masonry. The repair should address the component that is allowing water into the roof assembly.
A cricket or saddle may be relevant on the upper side of a chimney, but the need for one depends on chimney size, roof geometry, code edition, and local adoption. One roofing installation guide identifies a cricket or saddle requirement for chimneys wider than 30 inches under the 2015 IRC. That figure should not be treated as universal, so confirm the applicable local code for your home.
Repair Planning and Hidden Damage
Water that enters around a chimney can affect concealed roof materials before the interior damage becomes obvious. Ongoing water entry may contribute to damaged masonry, rusted fireplace components, deteriorated wall coverings, and damage to other concealed building materials. A small ceiling stain does not establish how far the damage extends.
Once the likely repair scope is identified, the roof cost calculator can provide a preliminary residential roofing cost estimate. It is a planning tool, not a chimney flashing diagnosis, contractor quote, or guaranteed repair price.
Frequently Asked Questions
Can water enter around a chimney even if the shingles look intact?
Yes. Water may enter through flashing, counterflashing, a cricket, the chimney crown, the cap, masonry, or concealed roof materials even when nearby shingles appear intact. Water can also travel before it reaches the ceiling.
Should a roofer or chimney professional inspect the problem?
Either may be needed. A roofing professional can evaluate the roof covering, flashing, underlayment, decking, and drainage around the chimney. A chimney professional can evaluate the cap, crown, masonry, and mortar. If the first inspection does not clearly establish the source, examining both areas is sensible.
What should I do if the ceiling is actively dripping?
Protect furniture and other contents, contain the water if it is safe to do so, and arrange prompt professional help. If water is near an electrical fixture, avoid wet electrical components and shut off power to the affected area only when it can be done safely.
The most useful next step is to arrange an evaluation that follows the water path from the chimney and roof intersection through the accessible interior area. Identifying the actual entry point helps ensure that the repair addresses the flashing, chimney, or nearby roof materials responsible for the leak instead of only covering the visible damage.